A thin layer of carbody filler on the internal spout wall should make it reasonably waterproof once the two sides are glued together.
Once glued, the spout needed quite a bit of rebuilding - apply progressive layers of carbodyfiller to achieve a hard, smooth surface.

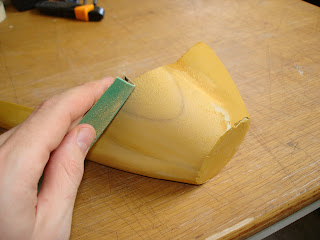
Sanding - after the majority of the filler has been filed off (to save time and energy), use a reasonably rough grade of sandpaper to take off the excess.

I needed to repeat the filling and sanding process several times to build up a smooth layer.

Start using finer sandpaper, once all the excess filler has been removed. This will start to produce a smoother surface the finer the sandpaper you use.

After several coats of high-build primer, and some very fine sanding using a high grade piece of steel wool, the surface is ready to spray.

The discs require some preliminary sanding with a high grade piece of wet & dry sandpaper.


No comments:
Post a Comment